Hey everyone so this post is actually very simple but I must state that if you want to get the best results you have to know which translucent clay is good for you. From my experience premo white translucent gives off the best results, regular translucent permo….while how should I say this :(
it sucks it’s just not that great. If you want the higher quality, you can use brands like Pardo or Cernit, you can see this review I found for more info
click here
Okay so lets start:
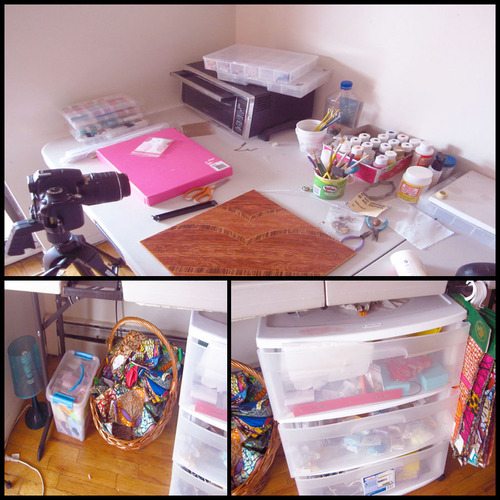
What you need:
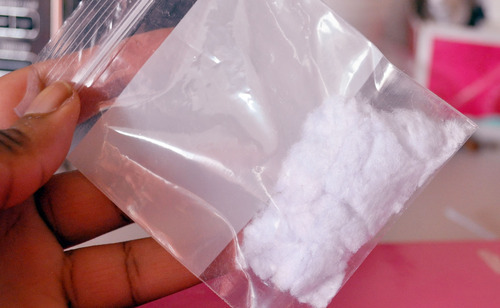
- Translucent White Clay if your using a sculpey brand
- Soap colorant, food coloring or alcohol ink for best results
The reason why I don’t mix colored clay with translucent is because for example if I was to mix red clay with translucent it won’t bake red but instead will come out pink or another color that is not translucent red. Whenever I use red soap colorant on my translucent clay, it bakes translucent red. I hope you can understand where I’m getting at.
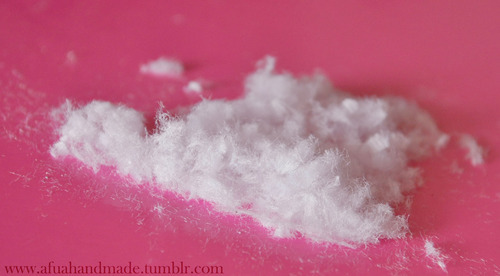
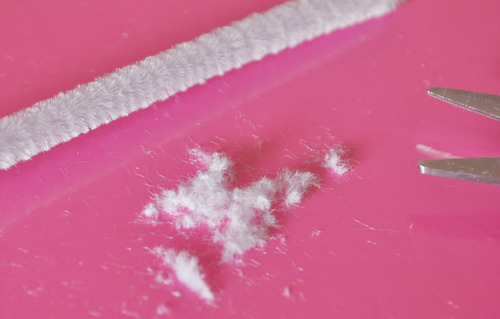
Step 1: Roll out any amount of the clay you want and flatten it. You really have to make sure that your hands and the surface around you is clean because the liquid from the colorant is going to make the clay soft.

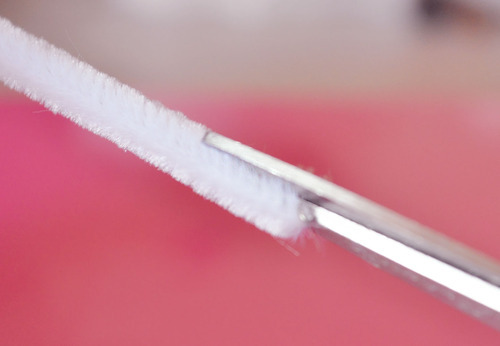
 Step 2:
 Add a drop of the liquid to your clay mix it and then repeat this step until the color appears to your liking.
 Step 3:
 Mold your clay into any shape you want then bake according to the brand’s instructions, for me it’s usually 30 minutes at 275 degrees Fahrenheit (135 degrees Celsius)

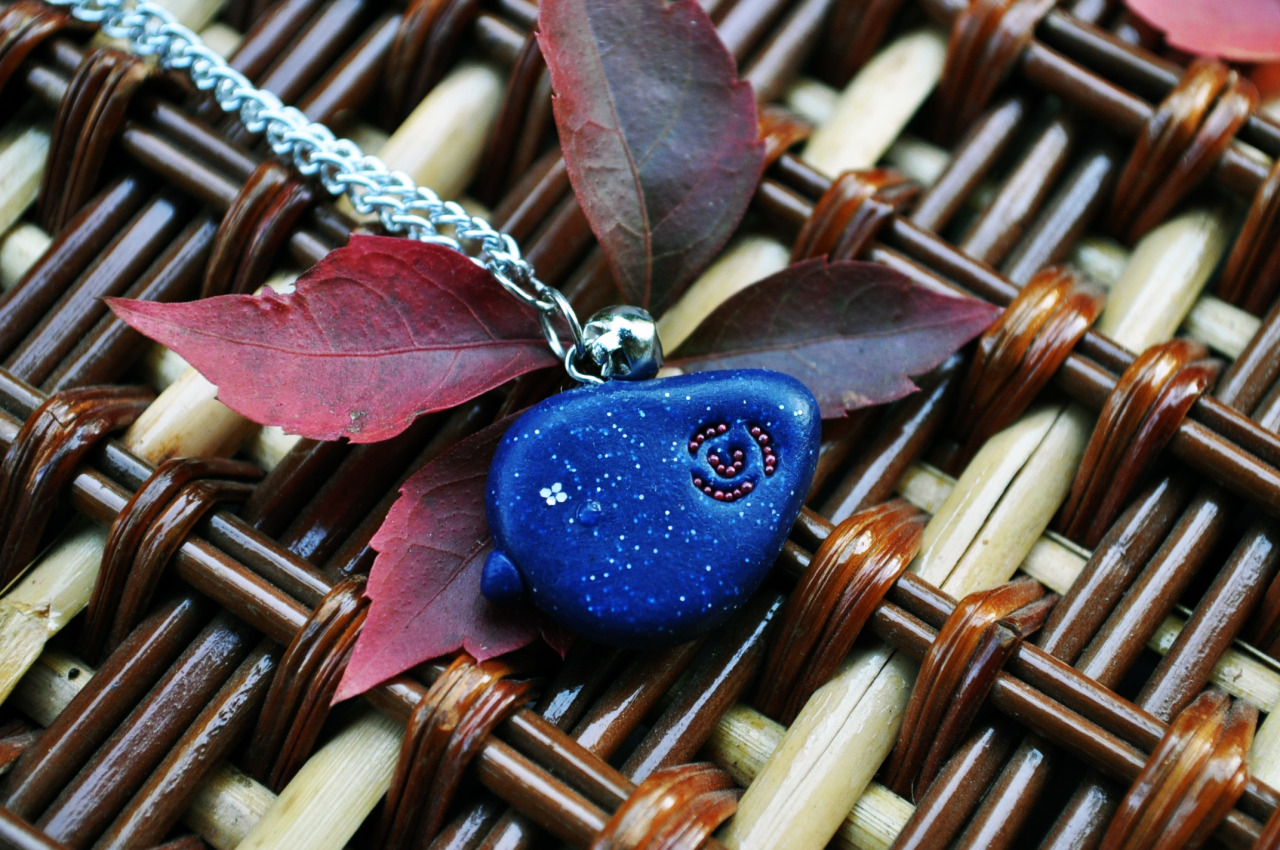
And this is how it should turn out; the colors seem very elegant to me :)
♥♥♥♥ Thanks for reading, please leave a comment or if you have questions ask ♥♥♥♥